DIY Headband Holder
These blog tutorials can be found all over the internet, but I was excited that I pinned a diy project on Pinterest and actually did it! There are also several different methods you can use to make these, but here I will share with you how I did it.
Supplies you will need:
Oatmeal container
Paper or fabric
Glue gun (and glue sticks :)
Modge Podge
Paintbrush
Decorations as desired
Wooden pieces for stand (optional)
Spray paint (optional)
Here is what I used:
If you are the make-tons-of-crafts type of person (and you like oatmeal) this project would cost you almost nothing. Most craft people would have most of these items on hand and could use leftover decoration pieces from other projects. I am not so much that type of person, so I had to buy everything for this project except for the oatmeal container, Modge Podge, and paintbrush. It still cost less than buying one from Etsy or some similar site, and I found everything I needed at Hobby Lobby.
*A piece of advice I found on another blog: Instead of waiting to use your oatmeal container until it was all used up, just dump the oatmeal into a plastic zipper baggie and use the container whenever you're ready. Or, you can use my method in which my one-year-old daughter just dumped out what was left onto the floor!
Step 1:
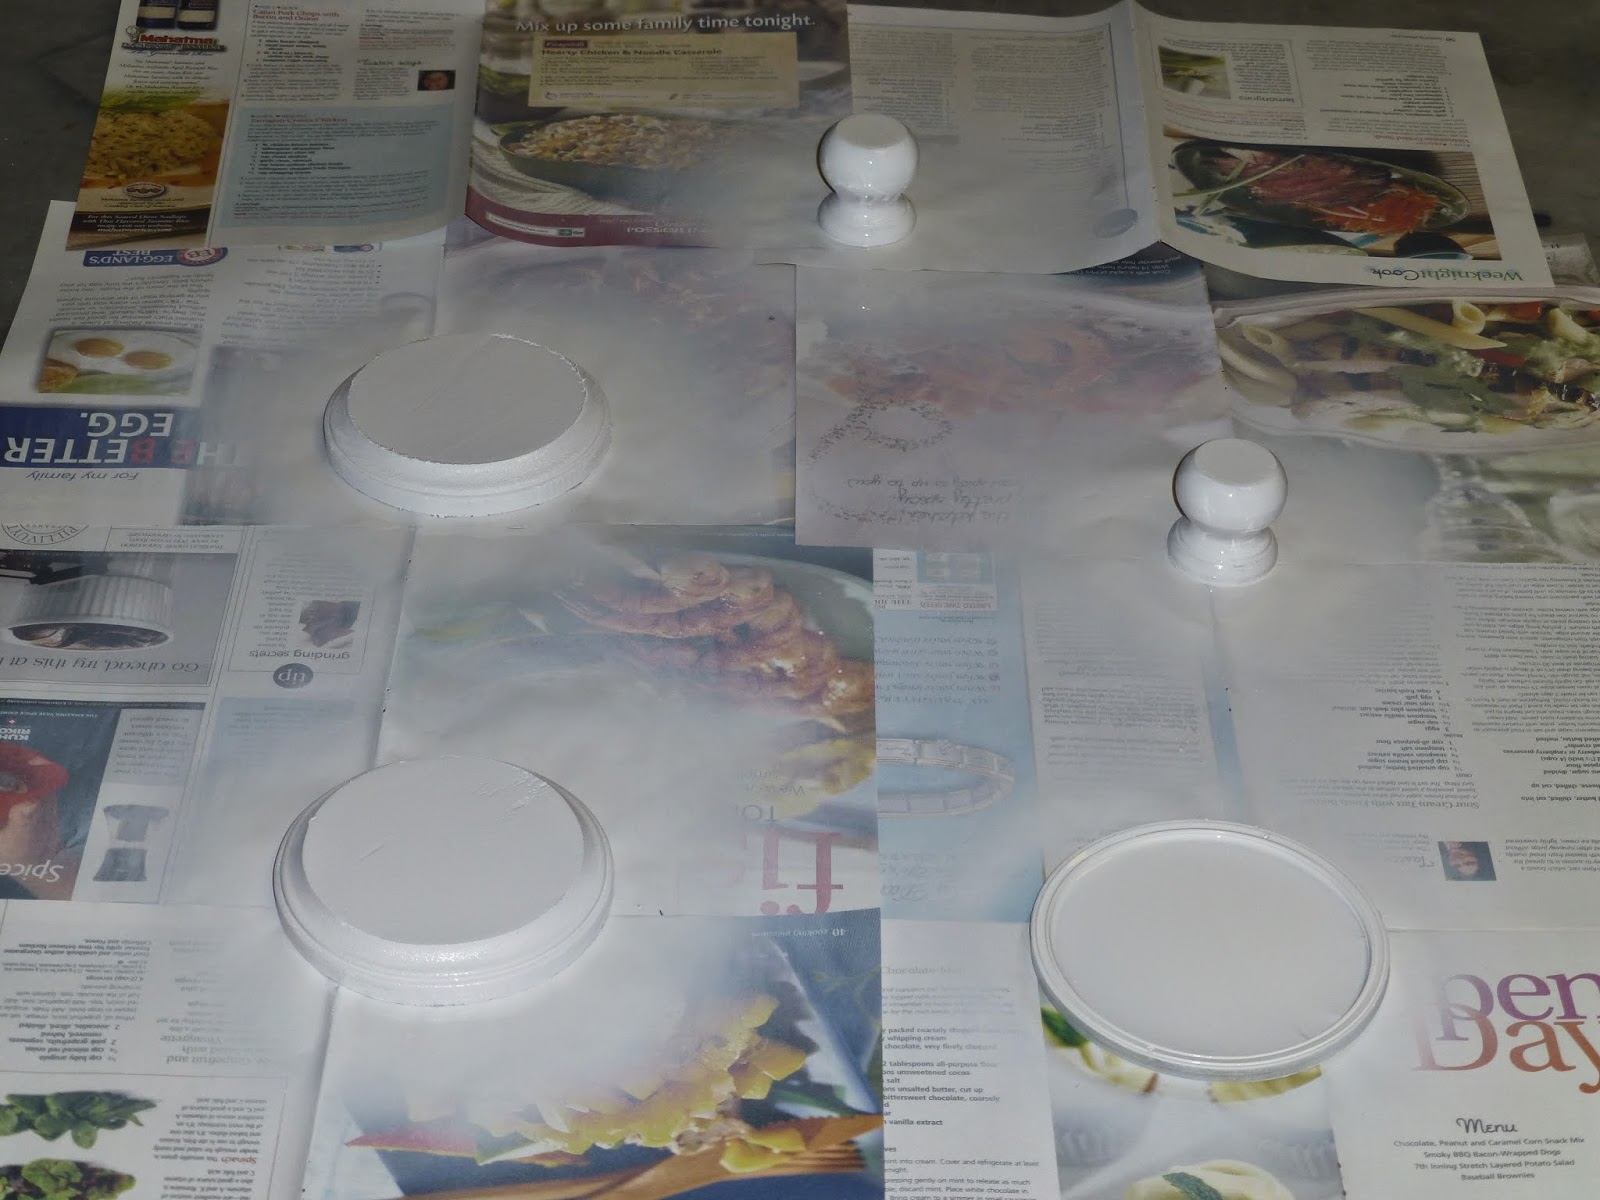
I spray painted the wood pieces and the top of the oatmeal container. The big flower I bought will probably cover the lid, but I didn't want any of the "Quaker Man" sticking out underneath it. The cute little spray paint can in the picture above was unfortunately not enough paint (because I didn't prime my pieces). Dad to the rescue! Fortunately for me my dad had a can he let me have so I didn't have to go out an buy more.
Step 2:
Creating the base. I glued all the wood pieces together using one round piece as the base, then I glued one of the knob shaped ones in the middle with the flatter end resting on the round piece. I then put the other knob piece on top of that, but I put it on upside down so it made sort of an hour glass shape. Lastly I glued the second round piece on top, painted side down. (Don't worry, the non-painted side will be glued to the oatmeal container so no one will know it's not painted. Honestly, I was too impatient to let the one side dry and then flip it over to paint the bottom.)
Step 3:
Step 4:
Decorations! I attached my decorations using my handy dandy new hot glue gun. You can use any decorations you'd like. Looking back, the string of pearls may not be the most practical since my daughter will have to be a little more careful taking the headbands on and off, but hey, at least it looks pretty!
Step 5:
Attach the newly decorated container to the base with hot glue and voila, you're done! I kept my lid functional so my daughter could store bows, flowers, and other hair stuff inside. Happy DIYing!


Comments